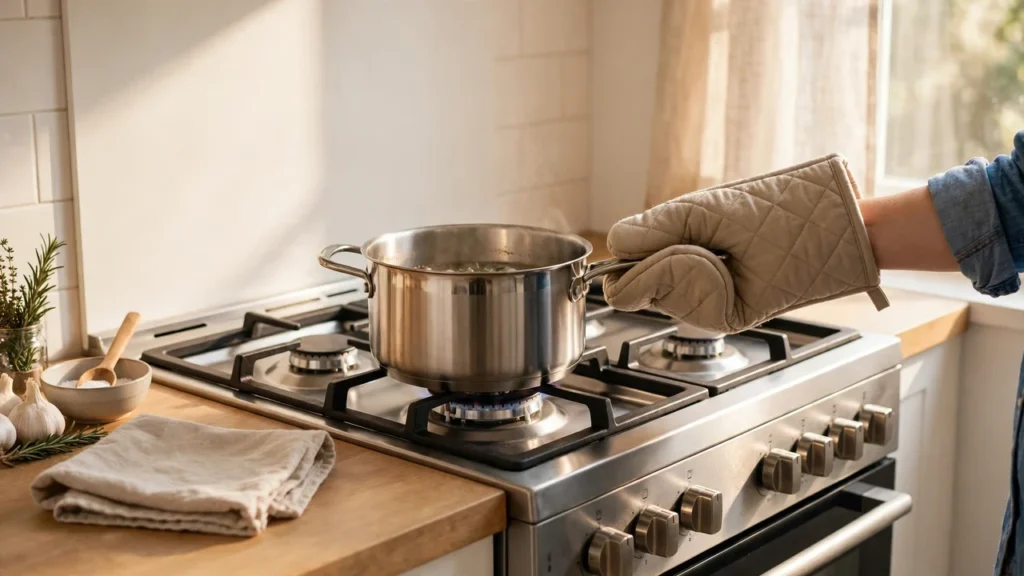
Kitchen Safety
How To Treat Kitchen Burns: First Aid Steps, What Not To Do and When To Get Help
Medical disclaimer: this guide is general information only. It is not medical advice, and it does not replace advice from a doctor, nurse or pharmacist. If you are unsure whether a burn is minor, get medical help. If a burn is large, deep, or on a sensitive part of the body, call 911 or go to an emergency department right away.
Most of us will touch a hot pan, splash hot oil, or brush a hot oven rack at some point. Knowing how to treat kitchen burns in the first few minutes makes a real difference to pain, healing and scarring, and knowing what not to do matters just as much, because the old remedies many of us grew up with can make a burn worse. This guide walks through the steps in order: check for emergency signs first, cool the burn, protect it, manage the pain, watch it while it heals, and prevent the next one. If you only remember one thing, remember this: cool running water first, and never put ice, butter or toothpaste on a burn.
Learning how to treat kitchen burns before you need the knowledge is far better than searching for it with a sore hand. Keep this guide bookmarked, so the steps for how to treat kitchen burns are always at hand, and keep a small first aid kit in or near your kitchen so bandages and petroleum jelly are within reach when you need them.
Kitchen Burns at a Glance
Burns are grouped by depth. The depth decides whether home care is safe and how to treat kitchen burns of that type. Use this table to judge what you are looking at, then read the matching section below for how to treat kitchen burns of that degree.
| Burn degree | What it looks like | What it feels like | First step | Healing time |
|---|---|---|---|---|
| First degree (superficial) | Red skin, no blisters, turns white when pressed | Painful, like sunburn | Cool running water, then petroleum jelly and a light cover | About 3 to 6 days |
| Second degree (partial thickness) | Red, swollen, blisters, skin may look wet | Very painful, tender to touch | Cool running water, cover with a sterile dressing, see a doctor if large | About 2 to 3 weeks |
| Third degree (full thickness) | White, charred or leathery skin, may look dry | May feel numb because nerves are damaged | Medical emergency, cover with a cool wet dressing and call 911 | Months, often needs hospital care |
Why This Guide Exists
Kitchens cause more burns than almost any other room in the home. Hot pans, boiling water, steam from a pot lid, splashing oil and hot oven racks are everyday hazards, and children under five are hurt in kitchens more than anywhere else. A survey cited in the plan source found that 80 percent of Australians did not know how to treat burns, and there is no reason to think cooks elsewhere do much better. This guide exists so the steps are clear before you need them. It gathers what the American Academy of Dermatology, WebMD and Geisinger agree on, and it says plainly where those sources disagree, so you can make a safe choice and know when to ask a clinician. Knowing how to treat kitchen burns is a basic kitchen skill, and it belongs in every cook’s toolkit.
What To Do First: Emergency Signs
Before you try to work out how to treat kitchen burns at home, check for the signs that mean emergency care. If any of these apply, do not try home treatment first. Call 911 or go to an emergency department.
- The skin looks white, charred or leathery, or the burned area feels numb.
- The skin is peeling away, or the burn looks deep rather than just red on the surface.
- The burn is larger than the person’s palm, or more than 3 inches across. RecipeTin Eats, using Australian guidance, puts the limit even lower: any burn bigger than a 20 cent piece, about 1 inch round, needs medical attention.
- The burn is on the face, hands, feet, genitals, or over a major joint, or it wraps all the way around an arm or a leg.
- The person is an infant, a young child, or an older adult, or has a condition that slows healing, such as diabetes.
- The burn was caused by electricity or chemicals, or by a serious fire.
- The person has difficulty breathing, has lost consciousness, or shows other life threatening symptoms.
- Clothing is stuck to the burn. Do not pull it off. Get medical help.
For a third degree burn, cover the area with a cool, wet dressing, keep the person warm with a blanket, and call 911. Do not put a large, serious burn under running water or into cold water, because that can drop body temperature and cause shock.
Step by Step: How To Treat Kitchen Burns at Home
These steps apply to minor burns only: small first degree burns, and small second degree burns no larger than about 3 inches across. If you are unsure about the size or depth, treat it as a reason to get medical advice. Here is how to treat kitchen burns step by step.
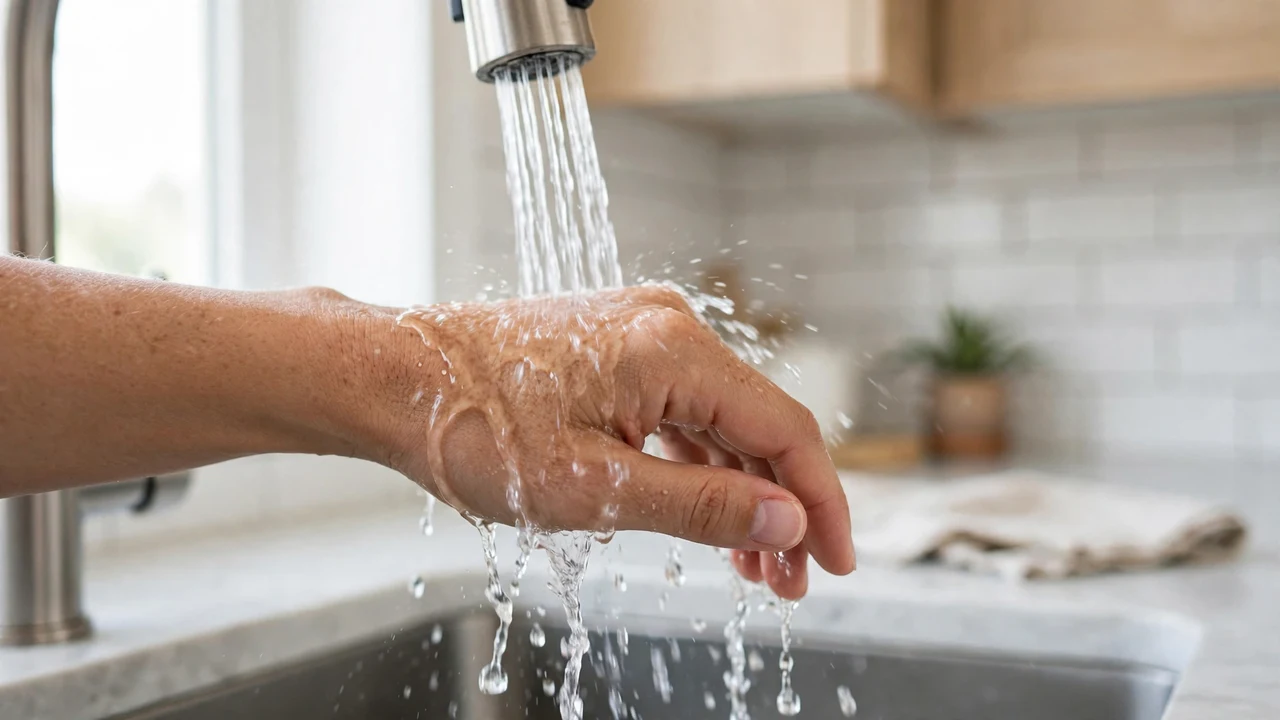
- Move away from the heat. The first move in how to treat kitchen burns is to stop the heat. Turn off the burner, move the pan, and get your hand or arm away from the heat source before you do anything else.
- Cool the burn under cool running water. Hold the burn under gently running cool tap water, not cold or icy water. Sources disagree on the exact time, from 3 to 5 minutes for a first degree burn (WebMD) to a full 20 minutes (RecipeTin Eats and the NHS), with Geisinger at 10 to 20 minutes and the AAD at about 10 minutes, or until pain subsides. Cool for at least 10 minutes, and keep going up to 20 minutes while it still hurts. If running water is not available, use a cool wet compress.
- Remove jewelry and tight clothing near the burn. Do this as part of how to treat kitchen burns safely, before swelling starts, while rings and sleeves still slide off easily. If clothing is stuck to the burn, leave it alone and get medical help.
- Clean the area gently. Wash with plain soap and cool water, and pat dry, because clean skin is part of how to treat kitchen burns well. Do not scrub the burn.
- Apply a thin layer of petroleum jelly. The American Academy of Dermatology recommends petroleum jelly two to three times a day to keep the wound moist so it heals faster. Geisinger agrees, and adds that a fragrance free moisturizer such as aloe vera is also fine. WebMD suggests an antibiotic ointment for a first degree burn, while the AAD advises against topical antibiotics. If you are unsure, follow a clinician’s advice.
- Cover with a clean, nonstick dressing. Covering the burn is the next step in how to treat kitchen burns after cooling and jelly. Use a nonstick sterile bandage or a clean, dry, non fluffy cloth. Change the dressing daily, or sooner if it gets wet or dirty. A first degree burn does not always need a cover, but covering it protects it from rubbing and germs.
- Take over the counter pain relief if you need it. Pain relief is part of how to treat kitchen burns, not an afterthought. Acetaminophen or ibuprofen can ease pain and reduce inflammation. Follow the dose on the packet, and check with a pharmacist if you take other medicines.
- Protect the burn from the sun. Sun care is the last step in how to treat kitchen burns while they heal. Keep it covered while it heals. Once the skin has healed, the AAD advises using a broad spectrum, water resistant sunscreen with SPF 30 or higher on the area, because new skin burns easily.
- Watch for infection over the next few days. Increasing redness, warmth, swelling, drainage, red streaks, worsening pain or a fever are signs to see a doctor promptly. That is the full routine for how to treat kitchen burns at home, and the same routine works for any small burn from a hot pan, boiling water or steam.
How To Treat Kitchen Burns by Degree
The steps above are the same starting point for how to treat kitchen burns of every minor kind, but the details change with depth. Here is what to expect for each degree, and when home care stops being enough.
First Degree Burn Treatment: How To Treat Kitchen Burns That Are Only Skin Deep
A first degree burn affects only the top layer of skin. It looks red, feels painful, and turns white when you press it, much like a mild sunburn. The skin may peel after a day or two, and there are usually no blisters. First degree burn treatment at home is straightforward: cool the burn under cool running water, apply petroleum jelly two to three times a day, and cover it with a nonstick sterile bandage if you want protection. Most first degree burns heal in 3 to 6 days without a doctor visit, and they usually heal without scarring. That is the short version of how to treat kitchen burns that stay on the surface. See a doctor if the burn covers a large area, or if the person burned is an infant or an older adult.
Second Degree Burn Treatment: How To Treat Kitchen Burns With Blisters
A second degree burn, also called a partial thickness burn, reaches the epidermis and the dermis underneath. It is red, swollen and painful, and blisters form. Common kitchen causes are scalding water, steam, and touching a hot stove or oven rack. For a small second degree burn, soak or run cool water over it for 15 to 30 minutes, then apply a thin layer of petroleum jelly or an antibiotic cream, and cover it with a sterile dressing that you change daily. Do not pop the blisters. Let them heal on their own while the area stays covered, because a broken blister is an open door for infection. Second degree burns usually heal in 2 to 3 weeks, and blisters can last 1 to 3 weeks. That is how to treat kitchen burns with blisters when the burn is small. Get medical care if the burn is larger than about 3 inches across, on the face, hands, feet or a joint, or showing signs of infection.
Third Degree Burn Treatment: When How To Treat Kitchen Burns Means Calling 911
A third degree burn damages every layer of skin. It may look white, charred or leathery, and it may feel numb rather than painful because the nerves are damaged. Third degree burns are always a medical emergency. There is no home version of how to treat kitchen burns this deep. Cover the area with a cool, wet dressing, keep the person warm, and call 911 or go to an emergency department at once. Do not put ointments, creams or home remedies on a third degree burn, and do not try to cool a large burn by putting the person in cold water. Healing can take months and often needs hospital care, including skin grafts.
What NOT To Do
Some of the worst burn damage comes not from the burn itself but from the remedy. Every source we checked agrees on this list, so treat it as settled, not as opinion. Anyone learning how to treat kitchen burns should learn this list first, because one wrong remedy can undo good first aid.
- Do not use ice or ice water. Ice can damage burned skin further, reduce blood flow, delay healing, and even cause frostbite on skin that is already injured. Use cool running water, never ice, because that is the first rule of how to treat kitchen burns.
- Do not use butter, oil or toothpaste. These are old home remedies that trap heat in the skin and raise the risk of infection. No guide to how to treat kitchen burns should include them, because they do not help, and they can make a doctor’s examination harder.
- Do not pop blisters. A blister is the body’s own sterile cover. Breaking it opens the skin to infection and slows healing. Burn blister treatment means leaving blisters alone and keeping them covered.
- Do not use fluffy cotton or loose fibrous dressings. Fibres can stick to the wound. Use a nonstick sterile bandage or a clean, non fluffy cloth instead.
- Do not apply random creams, sprays or home mixtures. The AAD advises against ointments and topical antibiotics, while WebMD suggests antibiotic ointment for first degree burns, so ask a clinician if you are unsure. What is clear from every source is that butter, toothpaste, oils and kitchen remedies do not belong on a burn.
- Do not pull off clothing stuck to a burn. Leave it in place and get medical help.
- Do not soak a large or serious burn in cold water. This can cause a sudden drop in body temperature and lead to shock.
- Do not ignore a burn that is not healing. A minor burn that looks no better after two weeks needs a medical look.
A note on the plan source: RecipeTin Eats recommends applying a branded burn gel, Burnaid, after cooling. That guide is a 2016 post sponsored by Burnaid, written for an Australian audience, and the gel recommendation is part of that sponsorship. A burn gel is one option, not the only treatment, and the current medical sources in this guide recommend petroleum jelly or a plain fragrance free moisturizer instead. Do not treat a branded product as the only correct choice.
Parents’ Review and Family Tips
Children are the people most at risk from kitchen burns, and their skin is thinner, so burns go deeper faster. Nearly half of severe burns and scalds happen to children under five, and about half of those happen in the kitchen, most often from hot liquids. Keep children at least 3 feet from the stove while you cook, and keep them off kitchen counters where they can reach hot pots. Use the back burners when you can, and turn every pot handle toward the back of the stove so a small hand cannot grab it or pull a pot down. Prevention is part of how to treat kitchen burns as a family skill.
If a child is burned, cool the burn the same way you would for an adult, but keep the child warm with a blanket or towel while you cool the burned area, and stop cooling if the child starts shivering. Never place a small child in a bath full of cold water, because that can cause shock. Get medical care quickly for any burn on a baby or young child, even if it looks small, because a child’s burn can be more serious than it appears. Teach older children the same rule: if you get burned, tell an adult at once and run the burn under cool water. A burn treated in the first minutes heals better than one treated an hour later, and a child who knows how to treat kitchen burns is safer in every kitchen.
Prevention in the Kitchen

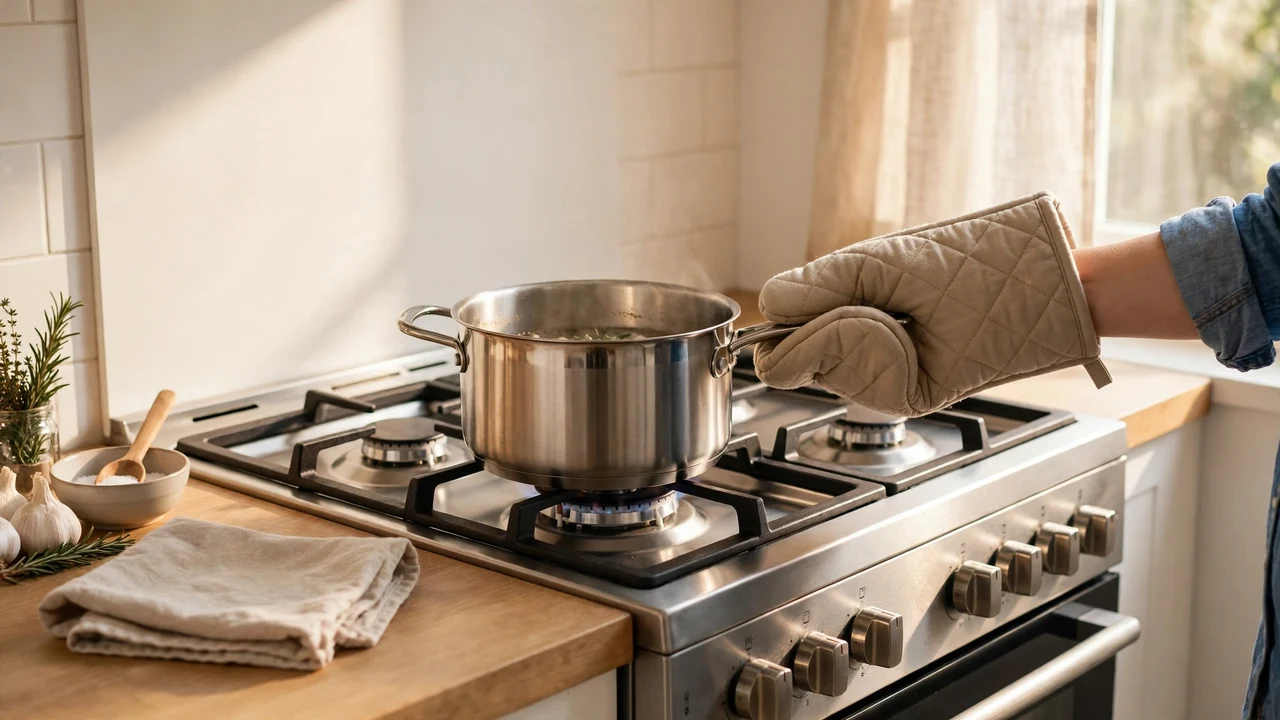
Kitchen burn prevention is mostly habit, and the habits are simple. Turn pot handles toward the back of the stove every time you cook, and use the back burners for boiling water and frying whenever you can. Keep children at least 3 feet from the stove, and never let them sit or climb on kitchen counters. Use dry oven mitts, because wet fabric transfers heat faster than dry fabric and a damp mitt can burn you through the cloth. Open pot lids away from your face so the steam escapes away from you, and stand back when you open the oven door. Each of these habits is part of how to treat kitchen burns by stopping them before they start.
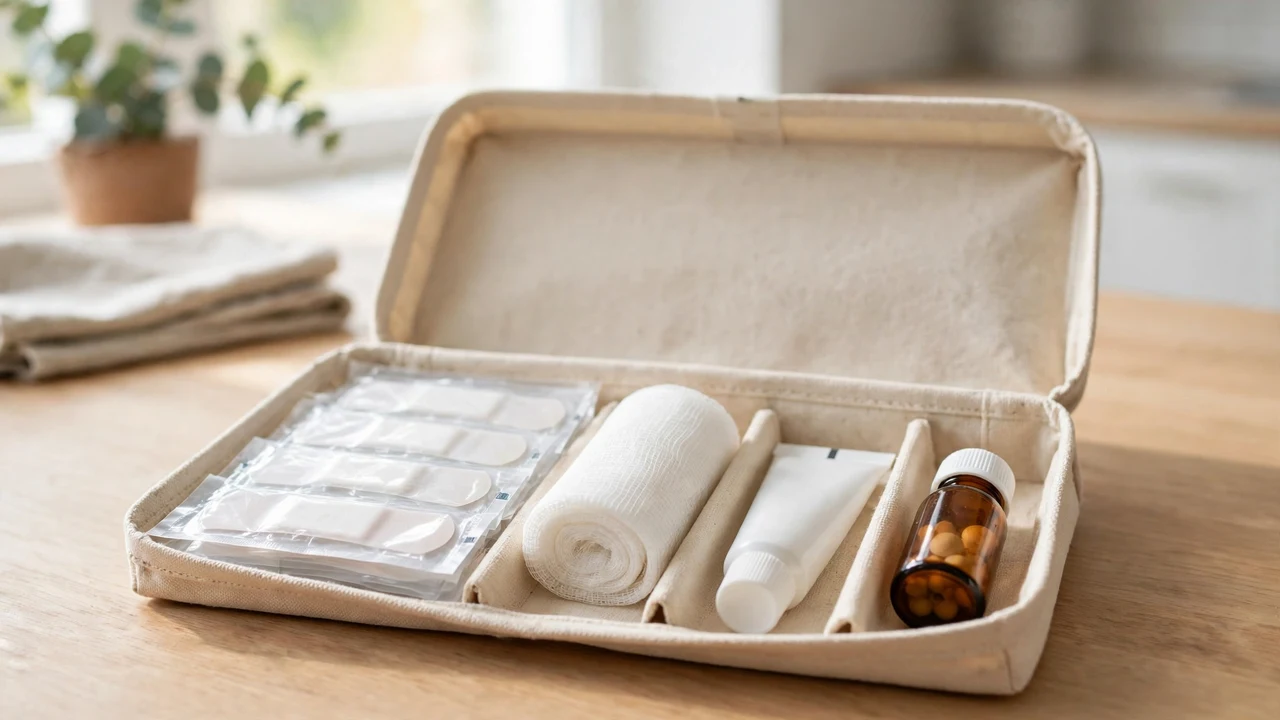
Set your water heater to no higher than 120 degrees Fahrenheit (49 degrees Celsius) to reduce scald risk at the tap. Keep hot drinks away from table edges where a child can reach them. When you carry a pot of hot liquid, make sure the path is clear and no one is standing in the way. Keep a first aid kit in the kitchen, so bandages and petroleum jelly are there in the first minute. These small habits are the cheapest form of kitchen burn first aid there is, because the best burn is the one that never happens, and good kitchen burn prevention beats even the best guide on how to treat kitchen burns after the fact.
When To See a Doctor
Even when you know how to treat kitchen burns at home, see a doctor promptly, or go to urgent care, if any of these apply.
- The burn is larger than the person’s palm, or more than 3 inches across.
- The burn is on the face, hands, feet, genitals, or over a major joint, or it wraps around a limb.
- Blisters are large, spreading, or broken, or the burn looks deeper than the top layer of skin.
- You see signs of infection: increasing redness, warmth or swelling, drainage or pus, red streaks, worsening pain, or a fever.
- The burn is not healing, or looks no better after one to two weeks.
- The person burned is a baby, a young child, or an older adult.
- The burn was caused by electricity, chemicals, or a serious fire.
- You are unsure about the depth or size of the burn. When in doubt, ask a clinician.
Minor burns should improve over about a week. If yours is getting worse instead of better, that is a reason to be seen, not a reason to wait longer. The question of when to go to ER for a burn has a simple answer: go at once for any large, deep or numb burn, any burn on a sensitive area, and any burn in a baby, child or older adult. For anything else, urgent care or your doctor can advise.
Is It Worth Knowing How To Treat Kitchen Burns
Yes, without question. A kitchen burn can happen in a second, and the first few minutes decide how much it hurts and how well it heals. Cool running water, a thin layer of petroleum jelly, a clean nonstick cover, and pain relief if you need it: that is the whole of how to treat kitchen burns at home, and it costs almost nothing to know in advance. Just as important is knowing what not to do, because ice, butter, toothpaste and popped blisters all make a burn worse, and knowing when to get help, because a large, deep or numb burn is an emergency, not a home project.
Learn the steps, keep a small first aid kit in the kitchen, turn your pot handles in, and teach the children in your home the same rules. That is how to treat a burn at home, and how to make sure you need the knowledge as rarely as possible.
Frequently Asked Questions
What is the first thing to do for a kitchen burn?
Move away from the heat, then hold the burn under cool running water. This is the first step in how to treat kitchen burns of any minor kind, because cooling stops the burning process and eases pain. Cool for at least 10 minutes, and up to 20 minutes while it still hurts. Do not use ice.
How long should you run cold water over a burn?
Guidance differs by source. RecipeTin Eats and the NHS say 20 minutes, Geisinger says 10 to 20 minutes, WebMD says 3 to 5 minutes for a first degree burn and 15 to 30 minutes for a second degree burn, and the AAD says to cool until the pain subsides, about 10 minutes. A safe rule for how to treat kitchen burns is at least 10 minutes of cooling, and up to 20 minutes while it still hurts.
What should you put on a burn?
After cooling, the American Academy of Dermatology recommends a thin layer of petroleum jelly two to three times a day, and Geisinger agrees, adding that a fragrance free moisturizer such as aloe vera is also fine. WebMD suggests an antibiotic ointment for first degree burns, while the AAD advises against topical antibiotics. If you are unsure, follow a clinician’s advice. Never put butter, toothpaste, oil or ice on a burn. That is the short answer to what to put on a burn once it is cool, and part of how to treat kitchen burns at home.
Should you pop a burn blister?
No. Do not pop burn blisters. A blister is the body’s own sterile cover, and breaking it opens the skin to infection and slows healing. Keep the blister covered with a clean, nonstick dressing and let it heal on its own. See a doctor if blisters are large, spreading or broken.
When should you go to the ER for a burn?
Go to the ER, or call 911, if the skin looks white, charred or leathery, or feels numb, if the burn is larger than the person’s palm or more than 3 inches across, if it is on the face, hands, feet, genitals or over a major joint, if clothing is stuck to it, or if the person is a baby, a young child or an older adult. Third degree burns are always an emergency. Knowing how to treat kitchen burns starts with knowing when not to treat them at home.
How can you prevent kitchen burns?
Turn pot handles toward the back of the stove, cook on back burners when you can, keep children at least 3 feet from the stove, use dry oven mitts, open lids away from your face, and set your water heater to no higher than 120 degrees Fahrenheit. Good kitchen burn prevention stops most burns before they happen, which is always better than needing to know how to treat kitchen burns after one.
Related Food Guides
Once you know how to treat kitchen burns, keep your cooking safe and simple with these Food Menu Journal guides:
- How To Cook Perfect Bacon in the Oven: oven cooking with less splatter and less risk of hot oil burns.
- Easy Homemade Lasagna Recipe: Full Guide: a full oven guide, with hot dish handling tips for taking a heavy pan out of the oven safely.
Sources and Review Notes
This guide explains how to treat kitchen burns from current first aid guidance. It is general information, not medical advice. It was researched and rechecked on 9 November 2026, and it states where sources disagree instead of hiding the differences. If you are unsure about a burn, get medical help.
- American Academy of Dermatology, “How to treat minor burns and cuts,” December 6, 2022, Dr Lindsay Strowd: cool tap water or cold wet compresses until pain subsides, petroleum jelly 2 to 3 times daily, no ointments, toothpaste, butter or topical antibiotics, nonstick sterile bandage, do not pop blisters, acetaminophen or ibuprofen, sun protection then SPF 30 plus sunscreen. aad.org
- WebMD, “Burn Pain Relief: How to Treat First to Third-Degree Burns”: first degree burns cool running water 3 to 5 minutes, antibiotic ointment, never ice, oil or butter, clean bandage, heals 3 to 6 days; second degree burns soak in cool water 15 to 30 minutes, antibiotic cream, sterile dressing changed daily, heals 2 to 3 weeks; third degree burns are a medical emergency, cover with a cool wet dressing and call 911. webmd.com
- Geisinger, “Burn Treatment for Cooking Mishaps,” October 29, 2026, Dr Todd Holmes: cool under gently running cool water 10 to 20 minutes or a cool compress, remove jewelry and tight clothing before swelling unless stuck to skin, thin layer of petroleum jelly or fragrance free moisturizer such as aloe vera, loosely cover with a clean nonstick dressing, over the counter pain relief, watch for infection, skip ice, do not pop blisters, seek immediate care for peeling, charred or leathery skin, numbness, or a burn larger than the person’s palm or more than 3 inches across. geisinger.org
- RecipeTin Eats, Nagi, “How To Treat Kitchen Burns,” plan source, rechecked 9 November 2026: a 2016 guide sponsored by Burnaid, written for an Australian audience. Minor superficial burns only, large full depth burns need emergency care at once, run under cold running water for a full 20 minutes, do not ice it, do not use butter or toothpaste, apply a burn gel such as Burnaid, spread gently, do not rub in, reapply every 30 minutes, wrap if required, get medical attention if clothing is stuck or the burn is bigger than a 20 cent piece (about 1 inch round). The Burnaid promotion is sponsorship, not current medical guidance, and a branded gel is not presented here as the only treatment. recipetineats.com
- UK National Health Service, “Burns and scalds,” last reviewed 31 March 2026: cool running water for 20 minutes as soon as possible, remove clothing and jewelry unless stuck, lay cling film over the burn when cooled, do not use ice, iced water, creams or greasy substances such as butter. nhs.uk
Disagreements stated plainly: cooling time differs by source (20 minutes RecipeTin Eats and NHS, 10 to 20 minutes Geisinger, 15 to 30 minutes for second degree burns and 3 to 5 minutes for first degree burns per WebMD, “until pain subsides” per the AAD) because burn depth and national guidance differ. Ointment advice differs too (AAD petroleum jelly, no topical antibiotics; WebMD antibiotic ointment for first degree burns). Follow a clinician’s advice when sources disagree.